


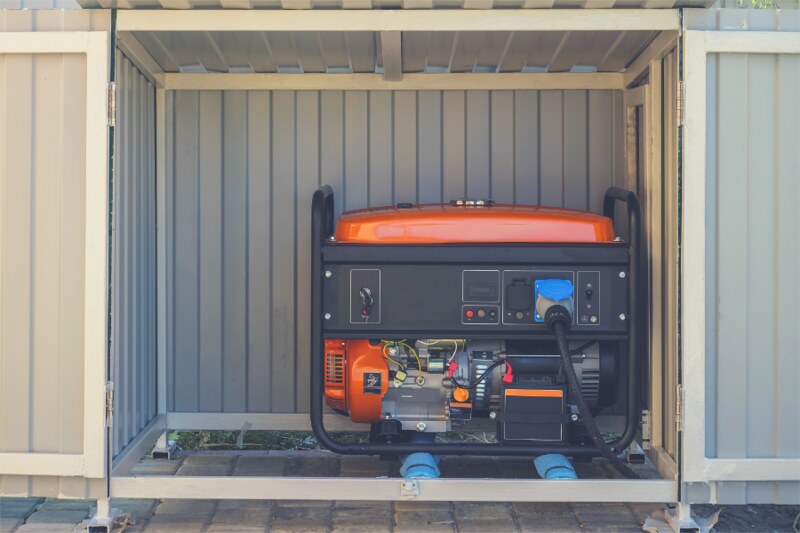
Most people purchase a generator for use during emergency situations. You may purchase this item during hurricane season or during strong winter storms. Therefore, many times, the generator will sit idle for months without use. Because this is a common issue, it’s important to know how to start a generator, particularly if it hasn’t been cranked for months on end.
Start With a Basic Checkup
One of the best ways to carry out generator maintenance is to do a basic checkup on the machine periodically. A generator that has been sitting in one’s garage for some time can develop issues that prevent it from firing up when needed. However, a basic checkup at regular intervals can ensure you won’t be spending hours troubleshooting when the power has already gone out in your home.
So, what are the basics? The first thing a homeowner should do is check the level of fuel in the generator. If it’s been several months since you last used the generator, the fuel may be very low.
Next, you should check the fuel valve. It must be turned on in order to start, and this could be the reason the generator won’t fire up. You’ll also want to check to see whether the choke switch is engaged. If one or either of these basic elements isn’t set to where it should be for cranking the generator, then the machine won’t start.
Get Some Fresh Fuel for the Generator


Hurricane season runs from June to November each year, so if the generator you purchased is basically utilized just in case of long-term power outages, the generator could sit idle for long periods of time. Realistically, a generator may sit idle in one’s garage for more than a year between uses. Since this is typically the case, you may need to drain the fuel lines and replenish the machine with fresh fuel.
It’s key that your generator always has fresh, stabilized gas. Stale fuel can cause a wealth of issues in your generator. Some owners will purchase fuel stabilizer for this purpose.
When preparing to drain fuel from your generator, first, you should move the generator to a place that is well-ventilated. If storing in your garage, be sure the door and any windows are open.
Open the gas tank cap of the generator. This will allow for air to flow through the machine’s fuel lines.
The fuel lines may have a plastic cover over them. Be sure to take this off and put it to the side. Check the fuel valve and make sure it is set to “off,” and begin to remove one side of the fuel line. You’ll do this by pinching the clip on the fuel line that does not connect to the tank on the generator. Next, remove the tubing that leads to the fuel valve.
Get a container that can be disposed of, and place the fuel valve tube inside. It’s now time to tilt the generator so that all remaining fuel will flow into the container. Once the gas no longer flows out, turn the fuel valve to the “on” position. This will drain any remaining fuel from the generator’s fuel lines.
Next, you’ll reattach the fuel line; then, close the lid on the fuel tank and replace any plastic covering over the fuel lines.
Go to the carburetor, and remove the bolt. Drain any fuel from the carburetor. Reattach the carburetor, and bolt it back to the generator. Be sure to do any necessary carburetor cleaning.
Now, it’s time to add fresh fuel and prepare to start the generator.
Check the Generator Spark Plug
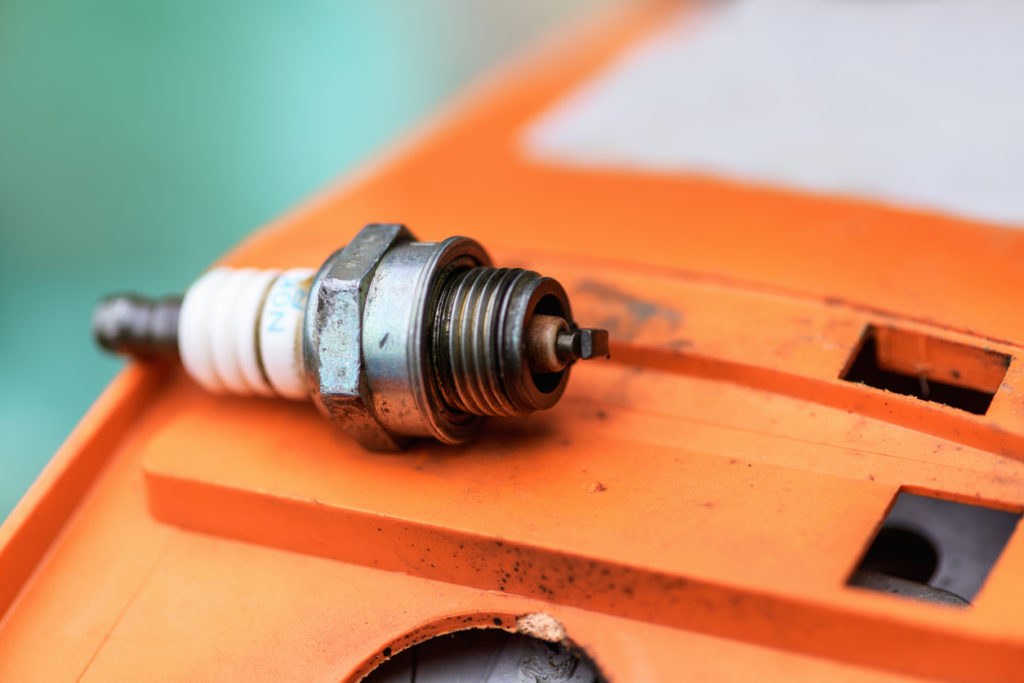
Whether you’re an amateur homeowner or a professional handyman, finding the spark plug for your generator and checking to see if it’s working properly is quite simple.
You’ll need your generator’s manual in order to pinpoint the exact location of the spark plug. The manual should also tell you exactly what type of spark plug you need. However, you can always remove a faulty spark plug and take it to the local parts store. At the same time, you can cut down on multiple trips to the store by already having the spare in hand.
Look for the model number of the spark plug, as well as the required gap, size, and recommended brand.
You’ll need the following to carry out checking — and possibly changing — the spark plug on your generator:
- Spark plug with correct gap
- Protective gloves
- A ratchet tool
- A spark plug gapping set
- A clean brush and towel
- A Phillips and flat-head screwdriver
- A socket wrench fit for spark plugs — 3/8″ or 5/8″
1. Locate the Spark Plug
Use your generator manual for a guide. The spark plug may be hidden under a removable case or covered by a spark plug boot. There is usually a black cable connected to the engine; follow this cable, and find the “boot” at the end of the cable.
Keep in mind that some brands of generators possess multiple spark plugs.
2. Disconnect the Plug Wire
Once you’ve found the boot, it’s time to disconnect the plug wire. Grab the boot firmly, and make a motion that is both twisting and pulling. Never simply pull the wire as you could do permanent damage.
3. Clean the Area
Wipe away any oil residue as well as debris and dirt around the spark plug area. Be sure that none of this falls into the opening left when you remove the spark plug. It might be a good idea to wipe the area around the old plug before you remove it.
4. Removing the Old Plug
Grab the spark plug socket and ratchet. This is usually a 3/8″ or a 5/8″ socket. The instruction manual for your generator should tell you exactly which one you should use.
It’s imperative that you only get the spark plug loose with the socket. Once it is loose enough for you to unscrew it manually, you should finish removing the plug this way. Also, remember not to change the angle of the socket so that you don’t damage the plug in any way.
5. Check the New Spark Plug
Use a gap measuring tool to make sure you have the proper gap for the spark plug placement. You’ll want to measure the two electrodes at the tip of the new spark plug. You should be able to feel the feeler gauge moving “freely” but also feel a bit of resistance.
6. Installing the Correct New Plug
Place the correct spark plug into your engine, and wiggle it until it is sitting in the socket of the engine properly. Begin twisting it into place manually. You can tighten the spark plug with a ratchet if you choose, but make sure it’s not sitting too tightly. Most manufacturers recommend no more than a quarter-turn of the ratchet.
7. Reconnect the Plug Wire
Once the plug is firmly in place, it’s time to reconnect the spark plug wire. Grab the boot just as you did in removing the spark plug, sliding it over the top of the spark plug. Be sure to press the boot until the cover goes all the way inside. Many times, you’ll feel or hear a click when the connector is in the proper position. Now, give the machine a crank to see if everything is working properly.
Inspect the Generator Air Filter


A dirty air filter in your generator can prevent it from starting as it should. You should check the health of the generator’s air filter every three to six months, depending upon the usage of the generator.
If the generator has been sitting idle for more than six months, then check the air filter before attempting to crank the machine. If there is a great deal of dirt or debris on the filter, you need to clean it or replace it. Check your owner’s manual for its recommendations.
You’ll need the following items to carry out this task:
- The proper air filter
- Protective gloves and goggles
- Oil for the filter
- Socket wrench
- A clean towel and brush
- Dish soap
- A Phillips head screwdriver and a flat-head screwdriver
1. Unplug the Spark Wire
It’s important that you don’t accidentally start the generator without the air filter in place, so unplug the spark wire for the moment. Just as you did previously, you may have to find the “boot” and remove it in order to access the wire.
2. Remove the Old Air Filter
Look at the housing of the air filter. Be sure to wipe down the area, removing all dirt and debris from the area. You may need to loosen a screw to access the air filter cover.
Remove the old filter. Many times, there is a pre-filter as well as the actual filter. Be sure to remove both, and then, clean the housing on the inside before replacing it with a new (or clean) air filter.
3. Clean a Reusable Filter
Most likely, there are one of two types of filters on the generator: a paper filter or a foam filter.
The paper filter is typically cleaned by simply dusting the filter. Be sure to check for wear and tear; you may need to replace it if the filter is worn.
To clean the foam filter, place it in a mixture of warm water and dish soap. Soak the filter for five minutes, and then rinse the filter. You may have to dump the dirty water and then place it in a new soapy solution. Repeat until the filter is clean. Allow time for the filter to completely dry.
4. Replace any Necessary Oils
Once the foam filter is clean, you’ll need to pour air filter oil on the filter; be sure that it is distributed evenly so that there is no excess oil on the filter.
5. Reinstall the Filter and Reconnect the Spark Plug
You’ll likely feel or hear a click when the wire and boot are back in the proper place as you reinstall the filter and the spark plug and wire.
Inspecting the Generator Fuel Line and Generator Fuel Filter
Make sure the fuel line is set to open. Then, unplug the outlet hose that is likely sitting on top of the generator. Have a container handy, and see if fluid is flowing through the line. You may need to flush the line to make sure that there is no clog in the generator gas line.
Be sure to check any fuel filters that might be inside the fuel line for clogs.
Once these steps have been taken, your generator should crank easily. Most manufacturers recommend cranking the generator once monthly or every other month to make sure the fuel does not become stale or could otherwise clog fuel lines and filters.
It’s also wise to perform maintenance on a generator ahead of potential storms that might cause power outages. For instance, carry out a general checkup in late May or early June before hurricane season. The same can be said about generators used during winter power outages; check the generator’s health in the fall before it’s ever needed.


